Shooting basics
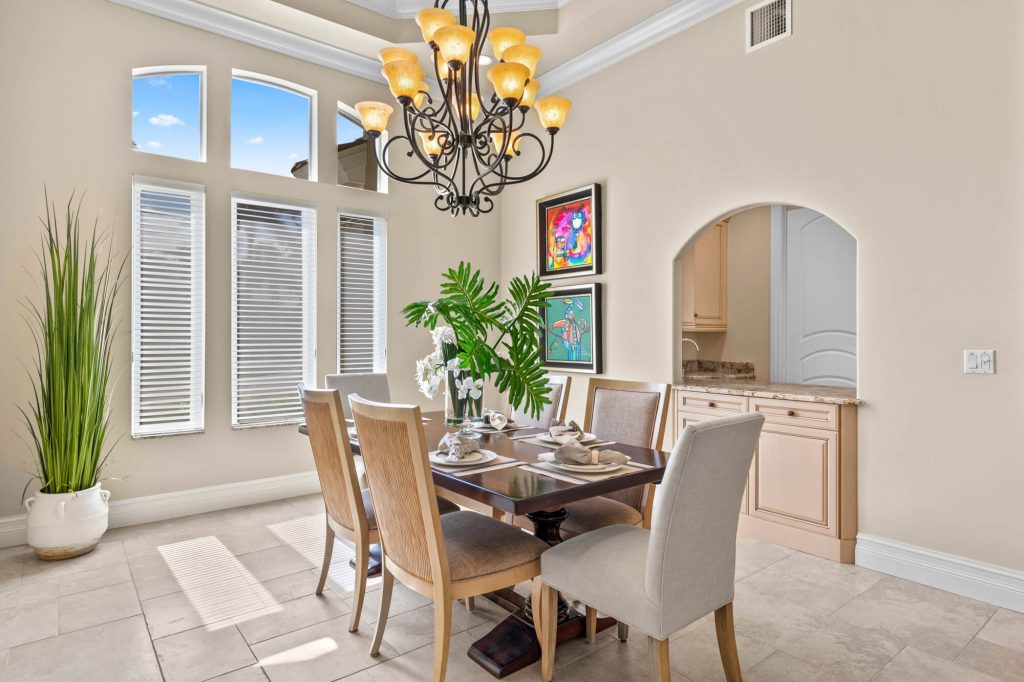
How to Shoot Bracketed Exposures for HDR Real Estate Photos
Bright windows and dark corners in one frame is the everyday problem of interior photography. Bracketing solves it, if you shoot the frames an editor can actually blend.
Read tutorial: How to Shoot Bracketed Exposures for HDR Real Estate Photos (3 min)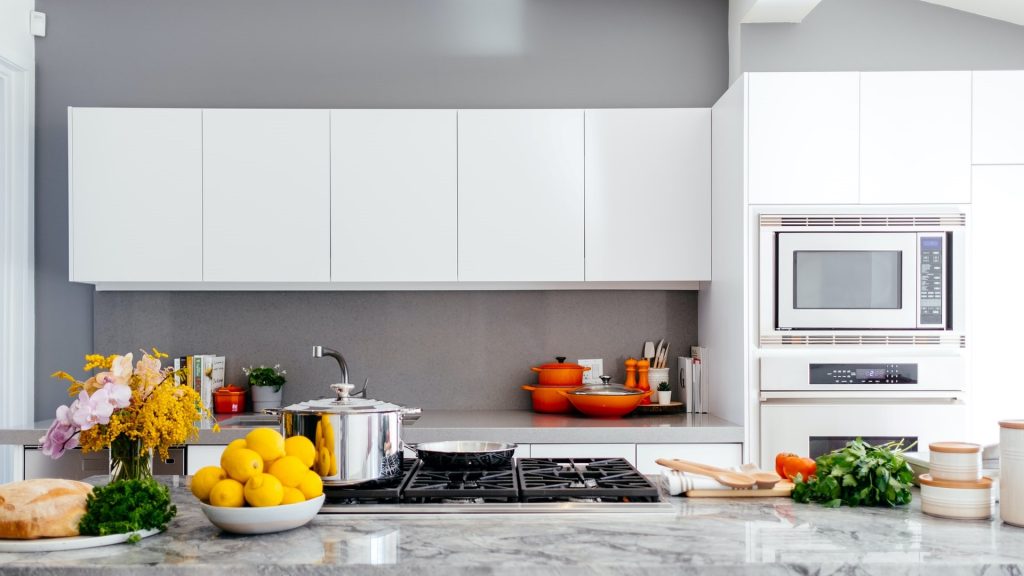
Shooting basics
Real Estate Photography Camera Settings: A Reliable Starting Point
You do not need a different recipe for every house. A consistent set of camera settings gives you files that are sharp, clean and easy to edit, room after room.
Read tutorial: Real Estate Photography Camera Settings: A Reliable Starting Point (3 min)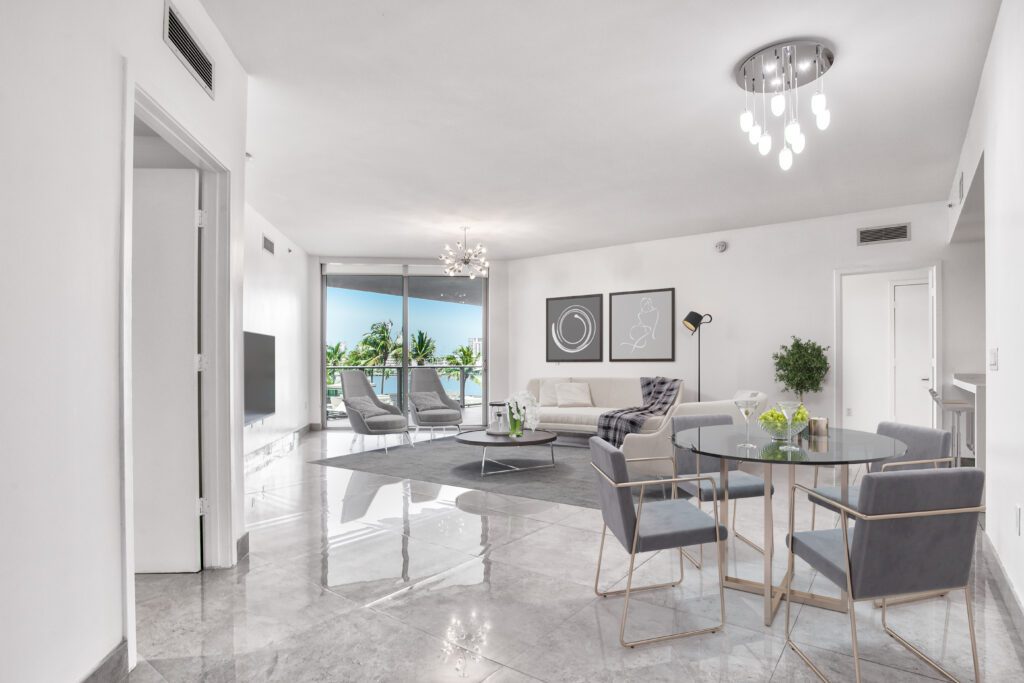
Shooting basics
Flash and Ambient Frames: How to Shoot for a Flambient Edit
Flambient combines a clean flash frame with a natural ambient frame. Done well, it gives true colors and crisp detail that HDR alone struggles to match.
Read tutorial: Flash and Ambient Frames: How to Shoot for a Flambient Edit (3 min)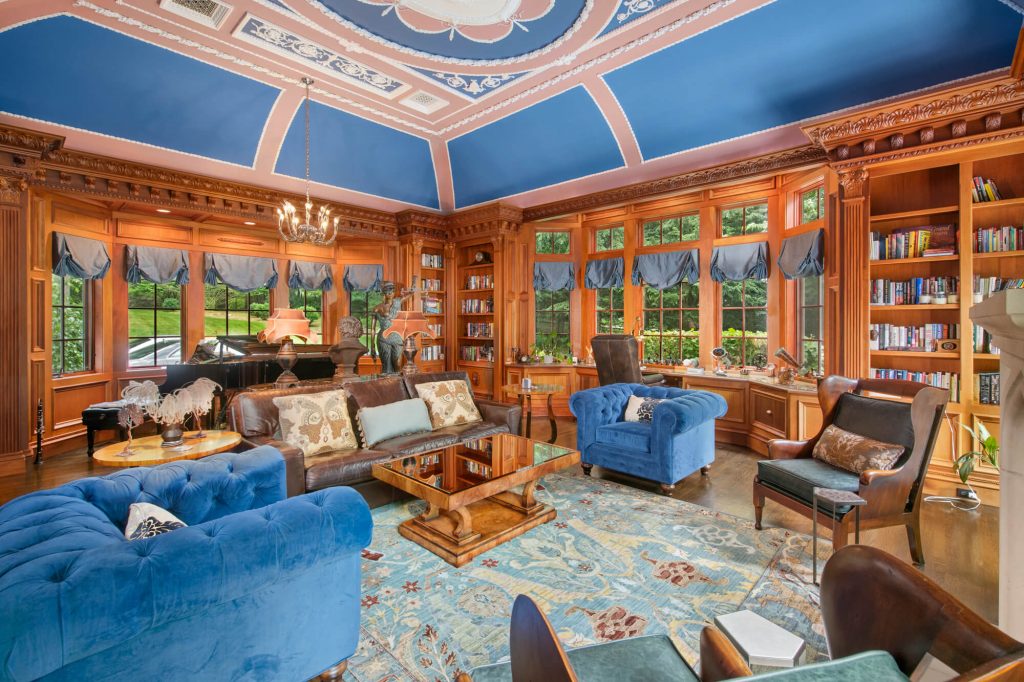
Shooting basics
Composition for Real Estate: Camera Height, Straight Verticals and Two-Point Perspective
Buyers decide in seconds whether a room looks right. Most of that impression comes from three things: where the camera sits, whether the walls stand straight, and what the frame includes.
Read tutorial: Composition for Real Estate: Camera Height, Straight Verticals and Two-Point Perspective (3 min)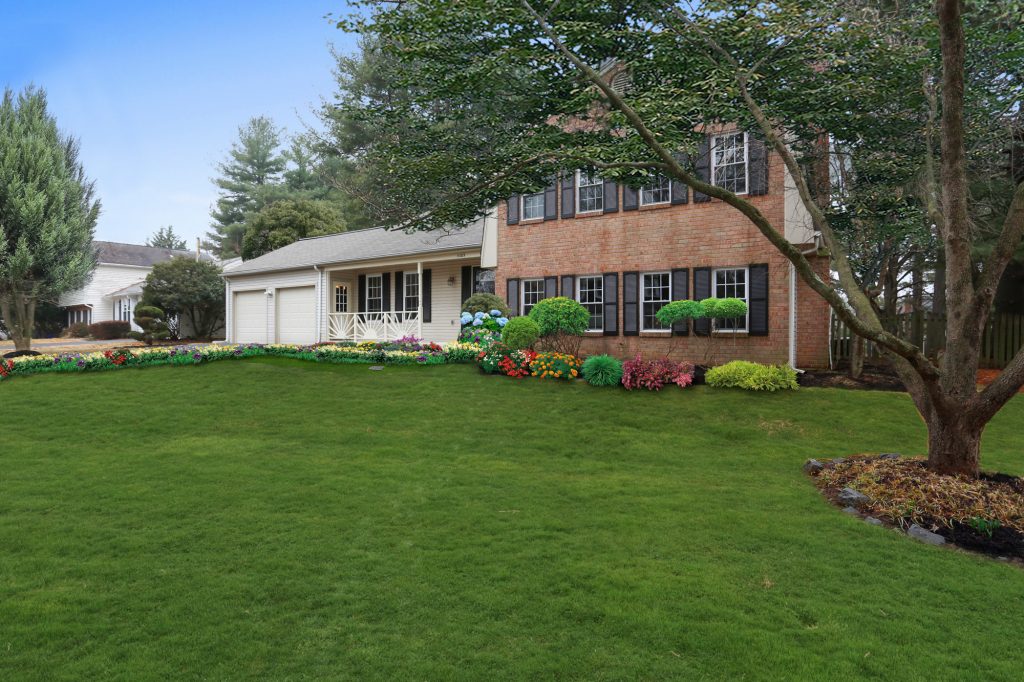
Room by room
How to Photograph Front Exteriors That Stop the Scroll
The front exterior is usually the first photo in a listing and the thumbnail buyers see in search. It deserves the most care of any shot in the set.
Read tutorial: How to Photograph Front Exteriors That Stop the Scroll (3 min)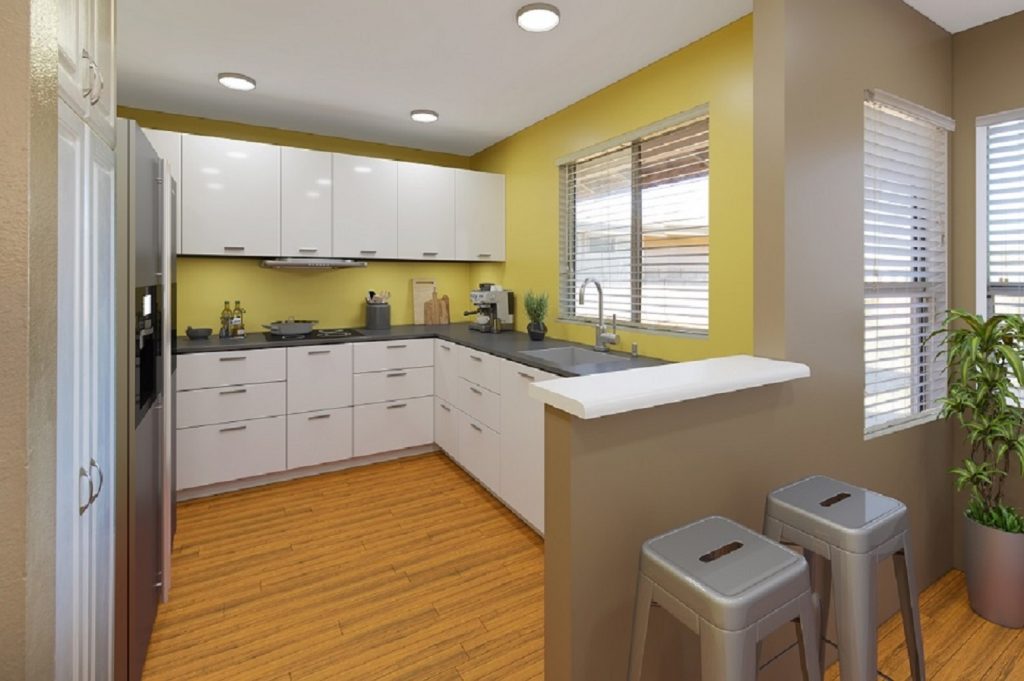
Room by room
How to Photograph a Kitchen for a Real Estate Listing
Kitchens sell homes, and buyers study them closely. A clear, bright kitchen photo shows the layout, the storage and the finishes at a glance.
Read tutorial: How to Photograph a Kitchen for a Real Estate Listing (3 min)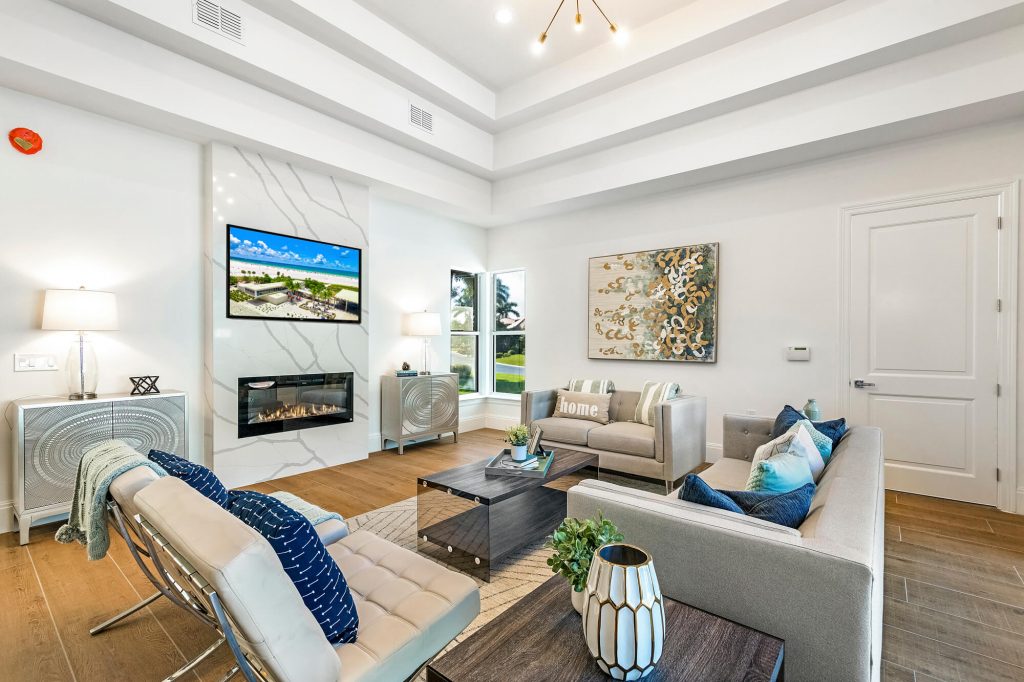
Room by room
How to Photograph Living Rooms and Open-Plan Spaces
The living room is where buyers picture themselves. The photo needs to show the space, the light and how it connects to the rest of the home.
Read tutorial: How to Photograph Living Rooms and Open-Plan Spaces (3 min)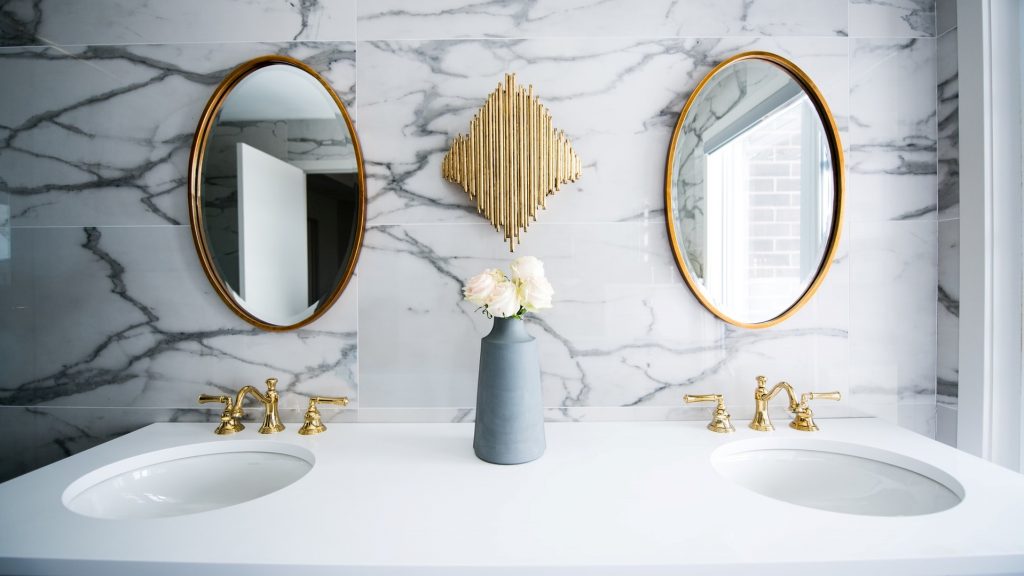
Room by room
How to Photograph Small Bathrooms Without Distortion
Bathrooms are small, bright and full of mirrors. A few habits keep them clean, straight and free of reflections.
Read tutorial: How to Photograph Small Bathrooms Without Distortion (3 min)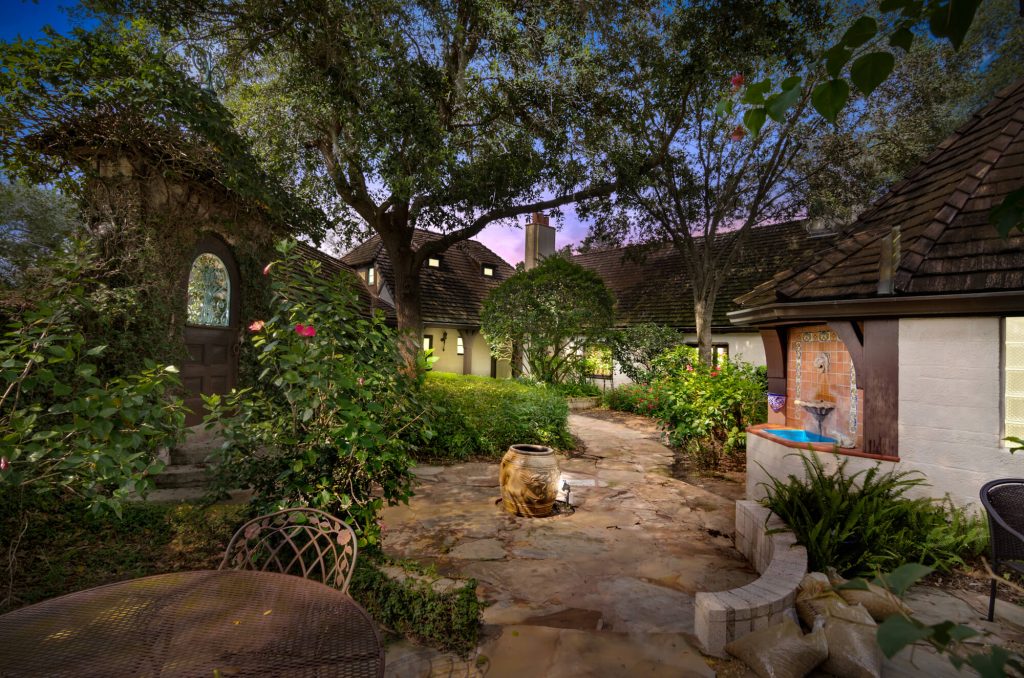
Room by room
Twilight Exteriors: Shoot at Dusk or Convert in Editing
Twilight photos make listings stand out, but they need the right 20 minutes of the day. You can shoot them live, or shoot a daylight frame that converts well.
Read tutorial: Twilight Exteriors: Shoot at Dusk or Convert in Editing (3 min)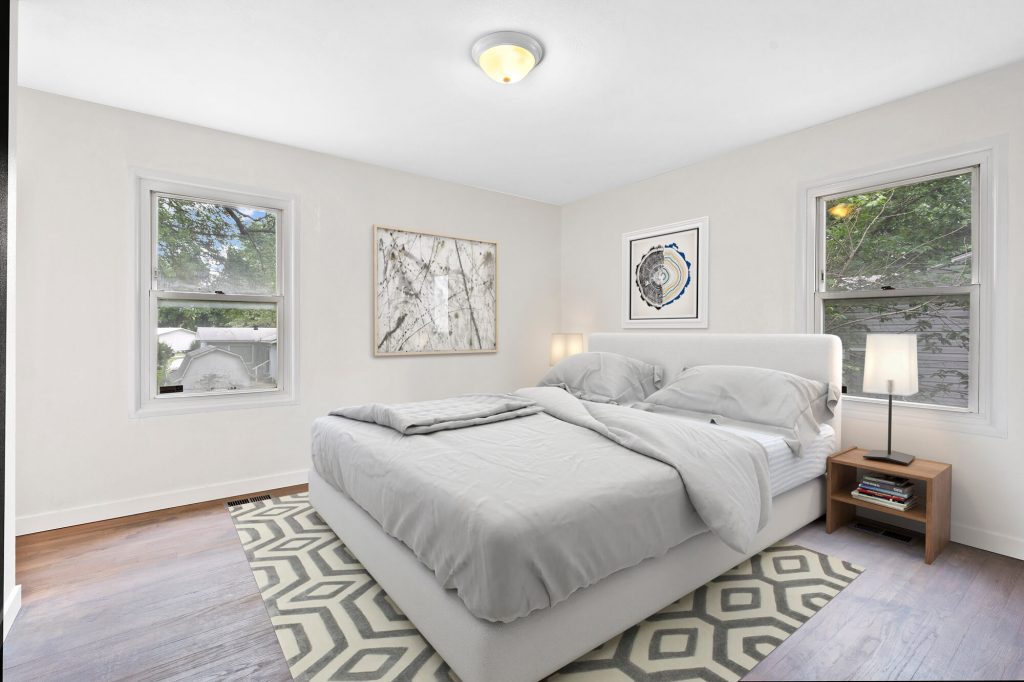
Working with an editor
How to Shoot Empty Rooms for Virtual Staging
Virtual staging can only be as convincing as the photo underneath it. A few simple choices on site make the furniture look like it belongs in the room.
Read tutorial: How to Shoot Empty Rooms for Virtual Staging (3 min)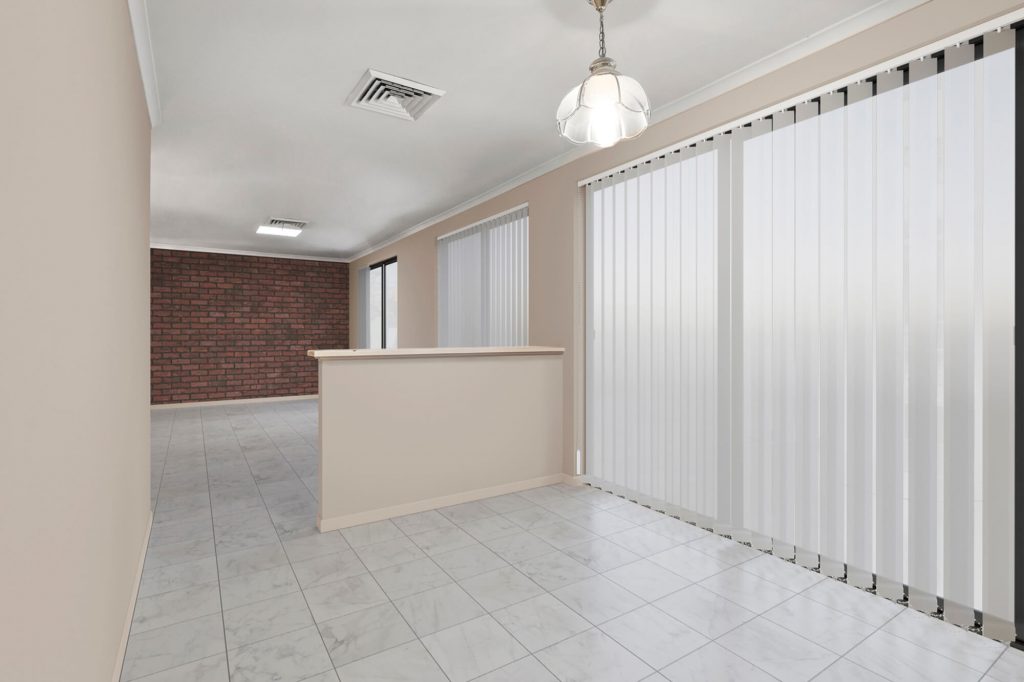
Working with an editor
Item Removal: What to Clear on Site and What Editing Can Fix
Some things take seconds to move on site. Others are impossible to move but easy to remove in editing. Knowing the difference saves time on every shoot.
Read tutorial: Item Removal: What to Clear on Site and What Editing Can Fix (3 min)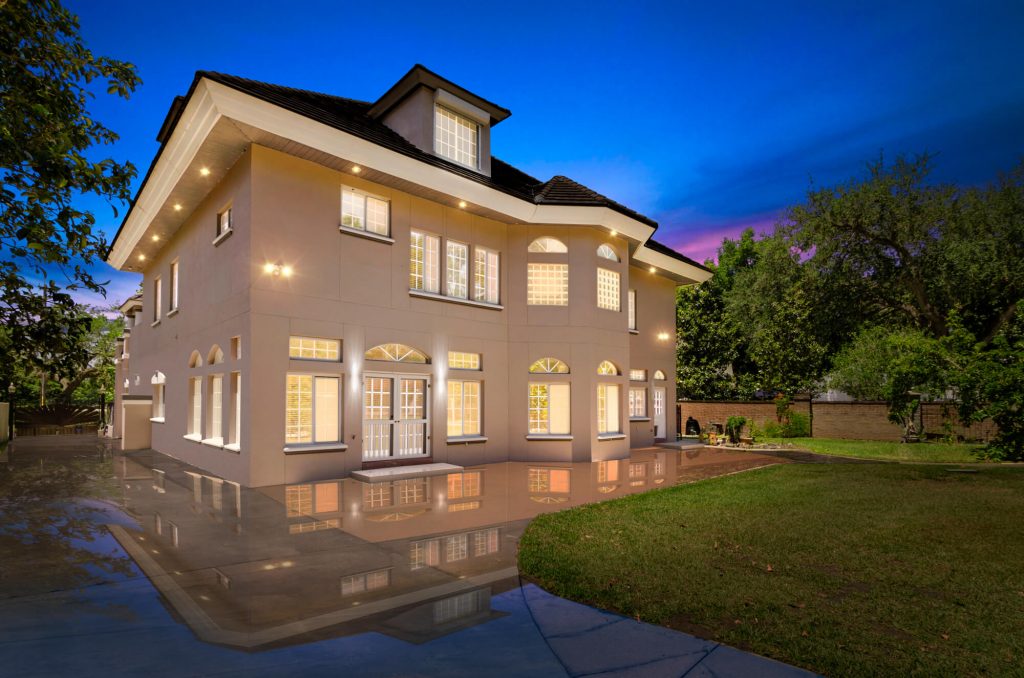
Working with an editor
How to Send Photos for Editing and Write Instructions That Work
Most slow or disappointing edits start before the editing does: missing frames, mixed-up folders or unclear notes. This checklist keeps every order clean.
Read tutorial: How to Send Photos for Editing and Write Instructions That Work (3 min)