In today’s competitive real estate market, first impressions are crucial, and high-quality images can make all the difference. Whether you’re a real estate agent, a homeowner looking to sell, or a professional photographer, understanding the importance of stellar real estate photography is key to capturing buyers’ attention and maximizing the appeal of your listings. This guide will walk you through the essential aspects of capturing stunning real estate photos and introduce you to BEEPEC, a top-tier post-production service that can help elevate your images to the next level.
Understanding the Significance of Real Estate Photography
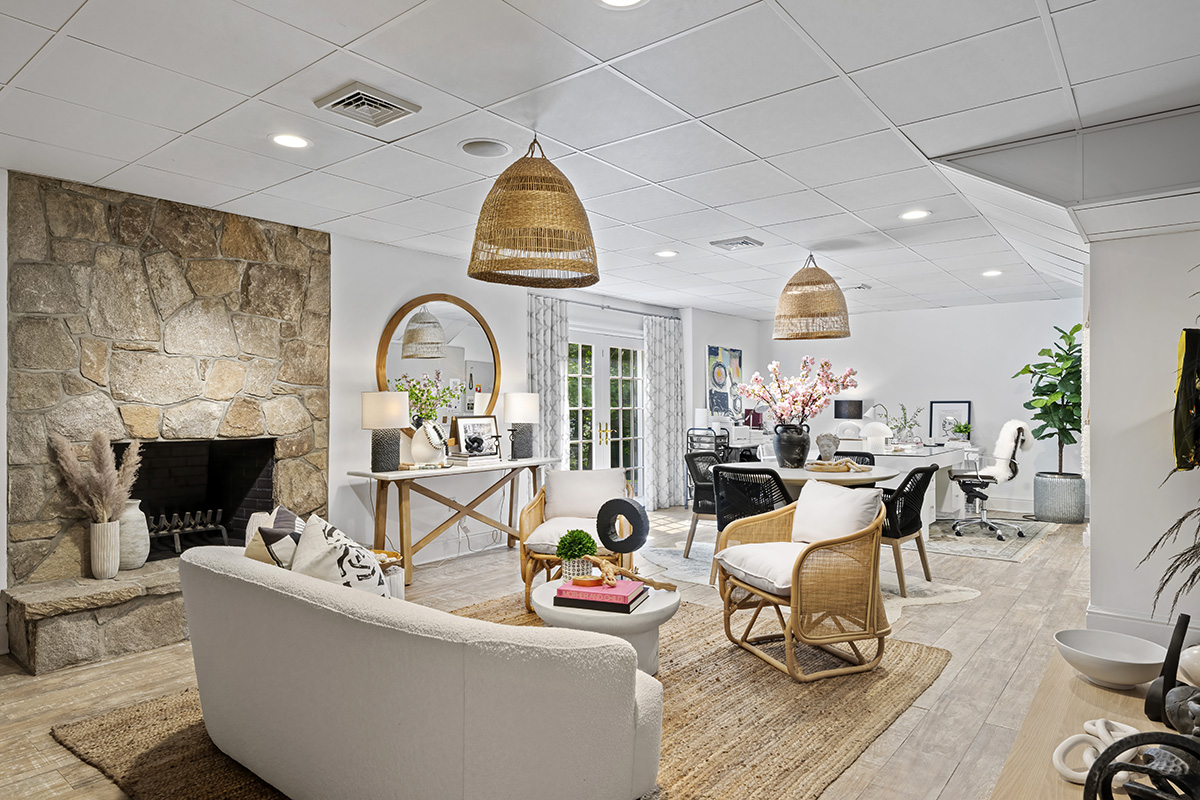
The significance of photography in real estate marketing cannot be overstated. In an era where most buyers begin their property search online, high-quality images are often the first interaction they have with a listing. These images do more than just show a property—they create an emotional connection. A well-captured photo can evoke feelings of comfort, luxury, and home, making potential buyers more likely to schedule a viewing.
Good photography doesn’t just highlight a property’s features; it tells a story, drawing buyers in and making them imagine themselves living there. Poor-quality images, on the other hand, can have the opposite effect, making even the most beautiful properties seem uninviting. This is why investing in professional photography, and understanding the fundamentals yourself, is essential.
Essential Camera Settings for Capturing Stunning Property Photos
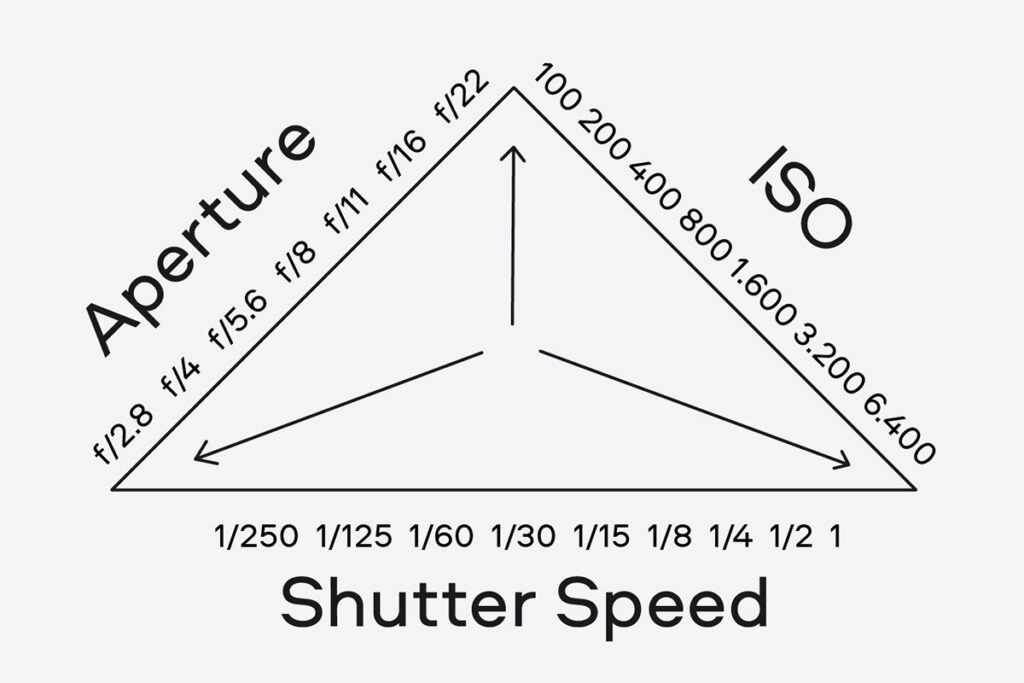
Achieving professional-quality real estate photos requires an understanding of key camera settings. Here are some fundamental settings to consider:
- Aperture Settings: For real estate photography, a smaller aperture (higher f-stop) is typically better to ensure everything in the scene is in focus. An aperture setting between f/8 to f/11 is ideal for achieving sharpness throughout the image, ensuring that both the foreground and background elements are clear.
- Shutter Speed: Real estate photography often involves shooting in various lighting conditions. Adjusting the shutter speed is crucial for getting the right exposure without motion blur. For interiors, where light can be limited, a slower shutter speed (around 1/60 to 1/2 sec) works well. Using a tripod can help maintain sharpness even at these slower speeds.
- ISO Settings: The ISO setting determines the camera’s sensitivity to light. For daylight shooting, an ISO setting between 100-400 is ideal to minimize noise and maintain image quality. If you’re shooting in lower light, you might need to increase the ISO, but be cautious, as higher ISO settings can introduce graininess to your photos.
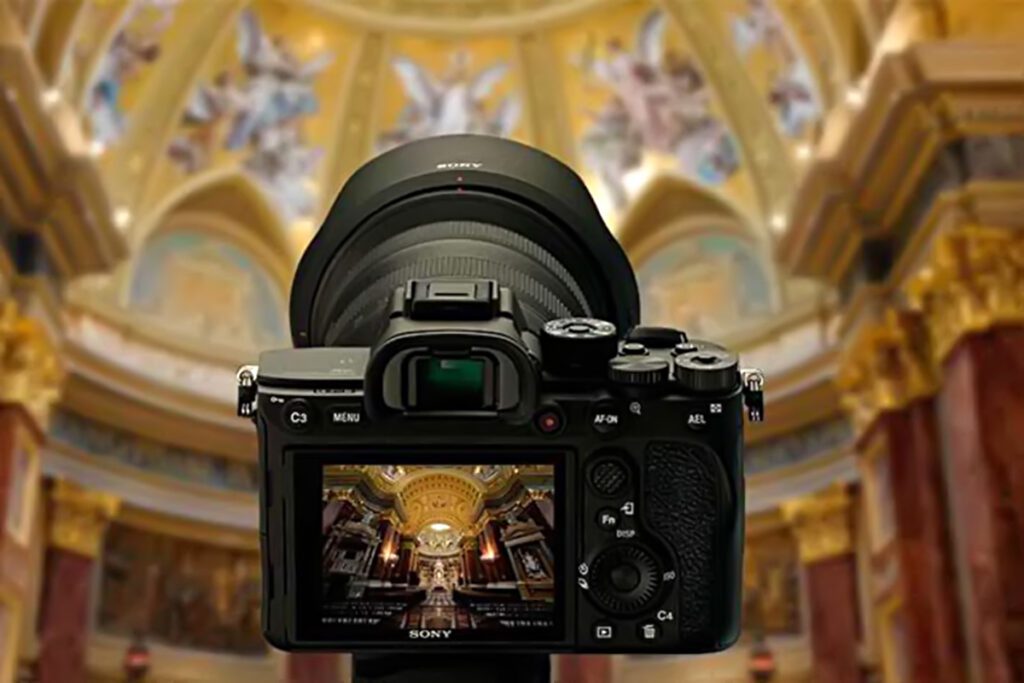
Choosing the Right Equipment for Real Estate Photography Success
The equipment you choose plays a significant role in the quality of your real estate photos. While today’s smartphones can take decent pictures, professional-grade cameras offer the control and image quality that set your photos apart.
DSLR vs. Mirrorless Cameras: Both DSLR and mirrorless cameras are excellent for real estate photography, but they have their pros and cons. DSLRs are known for their durability and battery life, while mirrorless cameras are generally lighter and offer better video capabilities. For real estate, where image quality is paramount, the differences are minimal, and either type can produce stunning results.
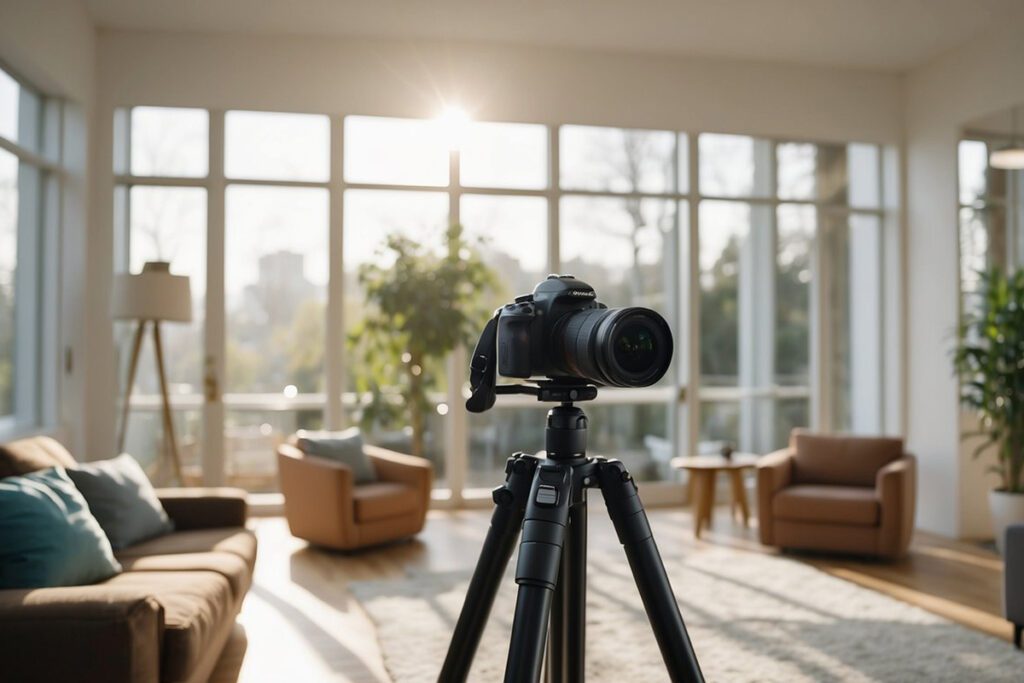
Tripod Importance: A sturdy tripod is a must for real estate photography, especially in low-light conditions where longer exposures are required. A good tripod helps eliminate camera shake, ensuring sharp images even when using slower shutter speeds.
Wide-Angle Lenses: Wide-angle lenses are essential for capturing the full scope of a room, making spaces look larger and more inviting. A lens with a focal length range of 14-35mm is ideal for real estate photography, allowing you to capture more of a room in a single shot without significant distortion.
Recommended Camera Kits for 2024-2025:
- Canon EOS R5: Paired with the Canon RF 15-35mm f/2.8L IS USM lens, this mirrorless camera offers incredible resolution and versatility.
- Nikon Z7 II: Equipped with the NIKKOR Z 14-24mm f/2.8 S lens, it’s perfect for detailed, high-resolution property images.
- Sony A7R IV: Coupled with the Sony FE 16-35mm f/2.8 GM lens, it’s a powerhouse for capturing wide, detailed shots.
Effective Shooting Techniques to Make Properties Shine in Photos
Capturing the best possible images requires more than just the right equipment; it also involves mastering certain shooting techniques.
Planning Your Shoot: Before you start shooting, it’s crucial to plan your shots. Creating a shot list ensures you cover all the important aspects of the property, from wide shots of each room to close-ups of key features. Conduct a walkthrough beforehand to identify the best angles and any potential challenges.
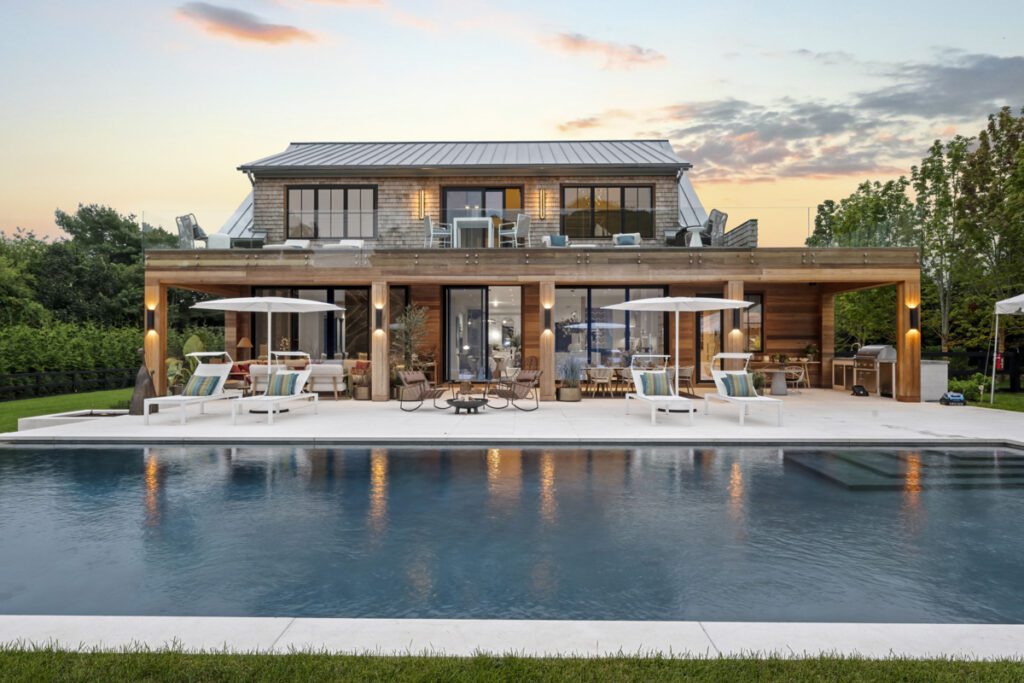
Optimal Shooting Times: The time of day can significantly impact your photos. Shooting during the early morning or late afternoon, when natural light is soft and warm, is ideal. Avoid shooting at midday when sunlight is harsh, as it can create unwanted shadows and highlights.
Exploring Angles, Perspectives, and Staging Tips That Elevate Property Images
Experimenting with different angles and perspectives can dramatically improve your real estate photos. Here are some tips:
Angles and Perspectives: Try shooting from the corners of rooms to capture more space and depth. Ensure that vertical lines (like walls and door frames) appear straight by keeping your camera level or using a tilt-shift lens. These subtle adjustments can make a big difference in how a room is perceived.
Staging Properties: Thoughtful staging can transform a space, making it more inviting and visually appealing. Remove clutter, add tasteful decorations, and consider using neutral colors to appeal to a broader audience. Staging helps potential buyers imagine themselves living in the space, which can increase the property’s attractiveness.

Advanced Photography Techniques That Set Your Listings Apart from the Competition
To truly stand out in the crowded real estate market, consider incorporating advanced photography techniques into your shoots.
HDR Imaging: High Dynamic Range (HDR) imaging involves taking multiple shots of the same scene at different exposures and combining them into one image. This technique is particularly useful in real estate photography to capture details in both the bright and dark areas of a room, ensuring nothing is lost to overexposure or shadows.
Drone Photography: For larger properties, aerial shots taken with a drone can provide a unique perspective that sets your listings apart. Drone photography is excellent for showcasing expansive estates, highlighting property features like gardens, pools, or proximity to natural surroundings. Aerial views give potential buyers a better understanding of the property’s layout and environment.

Post-Production: The Secret Sauce Behind Stunning Real Estate Photos
Even the best photos can benefit from post-production. Photo editing is where good images become great, with enhancements that can correct imperfections, adjust lighting, and bring out the best in each shot.
Key Post-Processing Techniques Every Real Estate Photographer Should Master
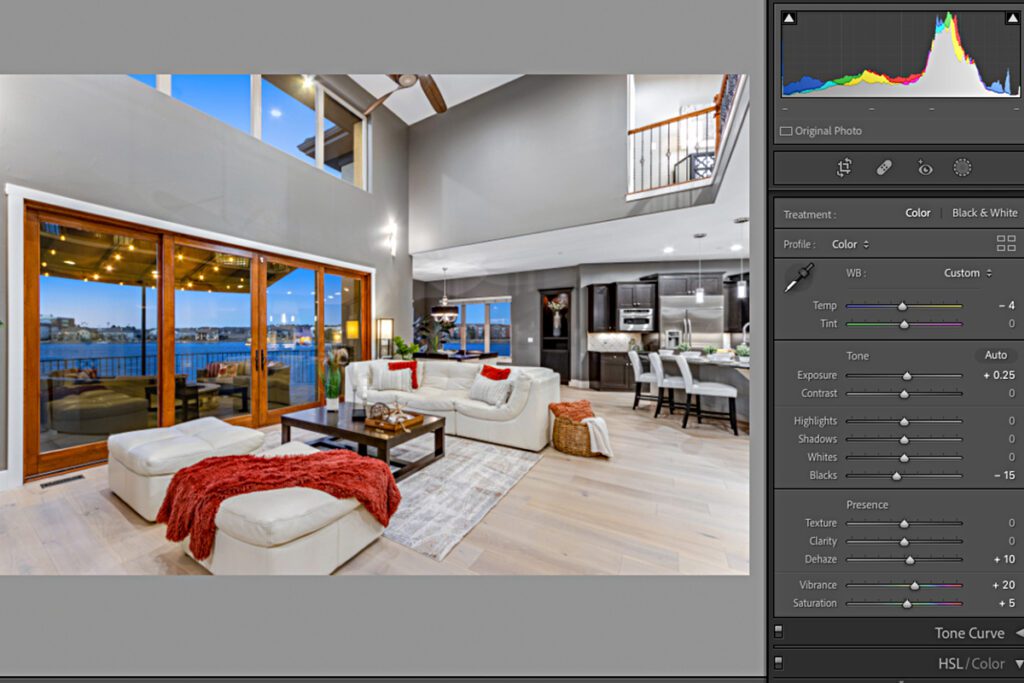
- Shooting in RAW Format: Always shoot in RAW format if possible. Unlike JPEG, RAW files capture all the data from your camera’s sensor, giving you much more flexibility in post-production. This allows you to adjust exposure, white balance, and contrast without losing image quality.
- Basic Photo Retouching: Simple edits like brightening an image, correcting color balance, and removing distractions (such as stray objects or reflections) can significantly improve the final result. Ensuring accurate colors is especially important in real estate photography, as buyers rely on photos to represent the property’s true appearance.
Choosing the Right Post-Production Partner: BEEPEC as Your Go-To Solution Provider
When it comes to post-production, partnering with a professional service like BEEPEC can make a significant difference. BEEPEC specializes in real estate photo editing, offering a range of services that include:
High-Quality Enhancements: BEEPEC can transform your images with expert retouching, color correction, and advanced editing techniques that make your photos stand out.
Quick Turnaround: In real estate, time is money. BEEPEC offers fast and reliable editing services, ensuring your photos are ready when you need them, without compromising on quality.
Affordable Pricing: Despite the high quality of their work, BEEPEC offers competitive pricing, making their services accessible to real estate professionals at all levels.
By choosing BEEPEC, you’re not just outsourcing editing; you’re partnering with a team that understands the nuances of real estate photography and knows how to enhance your images to maximize their impact.

Conclusion
Capturing stunning real estate photos is a multifaceted process that requires the right equipment, careful planning, and a deep understanding of photography techniques. However, the work doesn’t end once the photos are taken—post-production is equally crucial in ensuring your images are polished and professional.
By following the guidelines outlined in this guide, and leveraging the expertise of BEEPEC for your post-production needs, you can elevate your real estate listings and create a lasting impression on potential buyers. High-quality images are more than just a selling tool—they’re the key to creating an emotional connection that can turn a listing into a sale.
Ready to take your real estate photography to the next level? Visit BEEPEC to learn more about how their post-production services can help you achieve professional results that make your listings shine.